
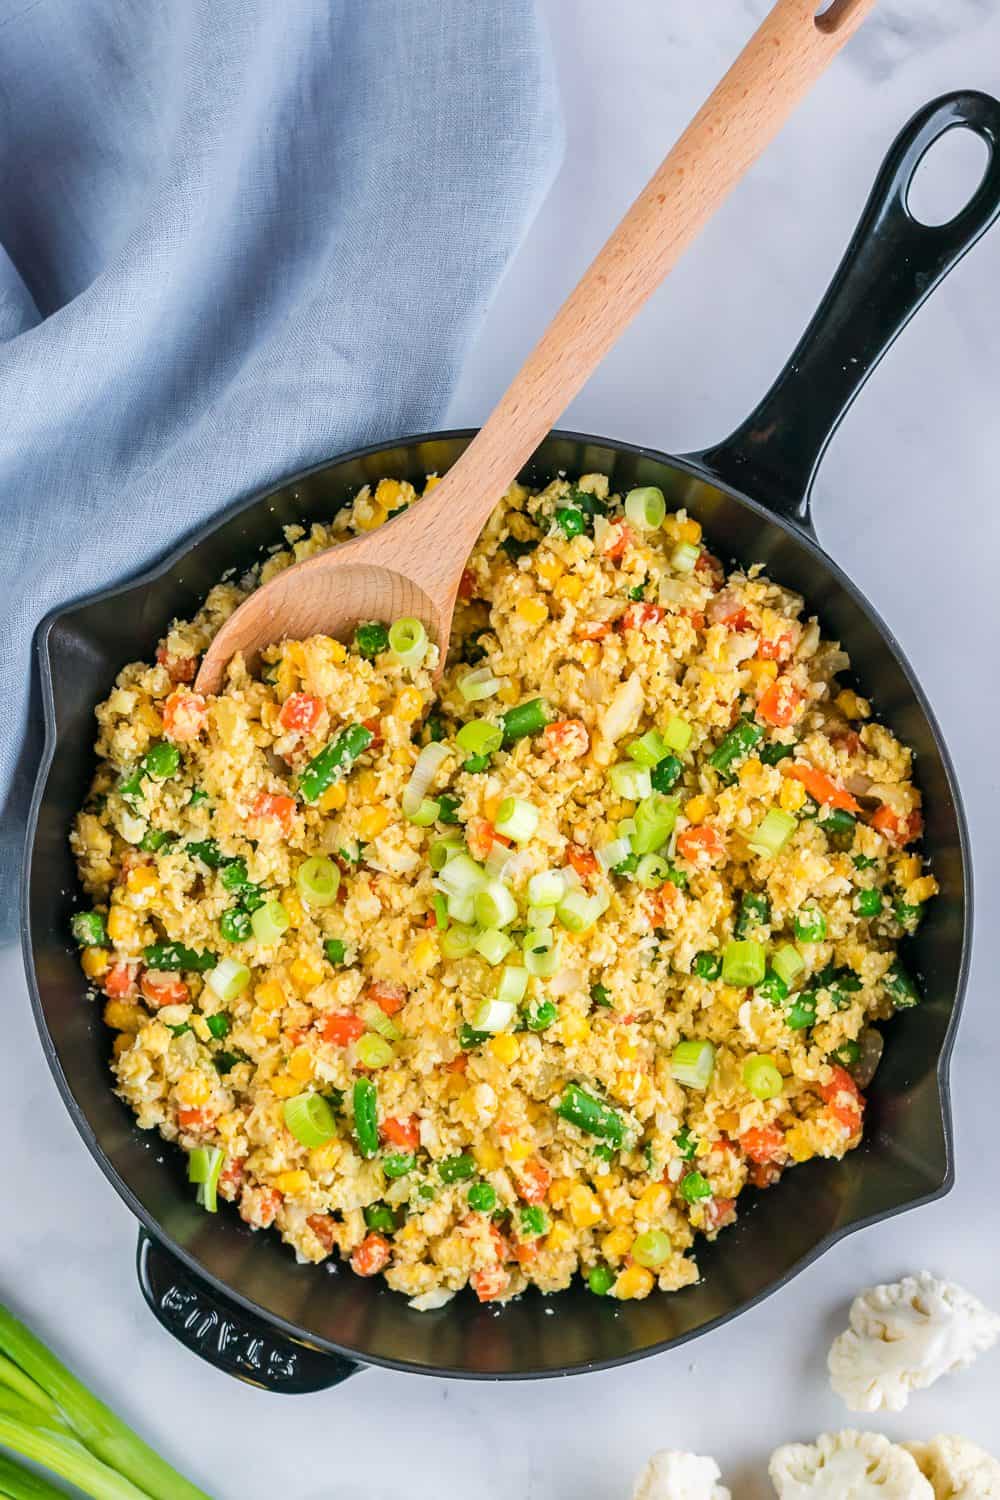
By using riced cauliflower instead of white rice, this Cauliflower Fried Rice is a healthy spin on a takeout favorite. It brings all the flavor of fried rice (complete with eggs & vegetables), but uses healthier ingredients.

About The Recipe
Cauliflower is having a moment right now: it’s popular in pizza crusts, buffalo wings, and more. And now it’s transformed into a new favorite: RICE!
It’s Better Than Takeout Cauliflower Fried Rice
This recipe takes our popular ‘Better Than Takeout Fried Rice’ recipe and substitutes riced cauliflower for white rice. It’s simple, tasty, and the flavors truly mimic the real thing.
It’s Done in 20 Minutes
With cauliflower and mixed vegetables, this recipe is packed full of vegetables. It uses clean ingredients for a fun way to make a healthier version of takeout at home. And even better: it’s done in only 20 minutes.
Cauliflower Fried Rice Ingredients
This recipe only takes 8 ingredients! The full recipe is at the bottom of this page, but here’s a quick overview of what you’ll need:
- 1 head cauliflower
- 2 tablespoon sesame oil
- ½ white onion, chopped
- 3 cups mixed vegetables, fresh or frozen (I used a frozen mix of peas, carrots, corn & green beans)
- 3 cloves garlic, minced
- 3 eggs, lightly scrambled
- 3 tablespoons soy sauce (or Tamari sauce or coconut aminos for gluten-free)
- 3 green onions, chopped
How to Make Cauliflower Rice Step-By-Step
Step 1: Rice The Cauliflower
Rice the cauliflower: chop the cauliflower into about 2” chunks (discard any leaves but include the stem), and pulse in a blender or food processor until the consistency resembles rice.
Step 2: Cook The Onion & Vegetables
In a large skillet, heat 1 tablespoon sesame oil. Add the onion and mixed vegetables and saute 5 – 8 minutes, until the onion is translucent and the vegetables are heated through. Add the garlic to the skillet and cook for 1 minute more.
Step 3: Add The Eggs
Using a wooden spoon or spatula, hollow out a circular well in the middle of the skillet. Add the remaining 1 tablespoon sesame oil and then the eggs. Stir the eggs until they are cooked and then mix them with the other ingredients in the skillet.
Step 4: Add the Soy Sauce + Cauliflower
Add the riced cauliflower to the skillet. Pour in the soy sauce and stir to mix. Cook for a couple minutes more, until heated through. Be careful not to overcook as the riced cauliflower will get mushy.
Step 5: Enjoy!
Serve immediately or the same day as you make it. The texture and flavors won’t keep if you save this as leftovers. Optionally: serve garnished with chopped green onions.
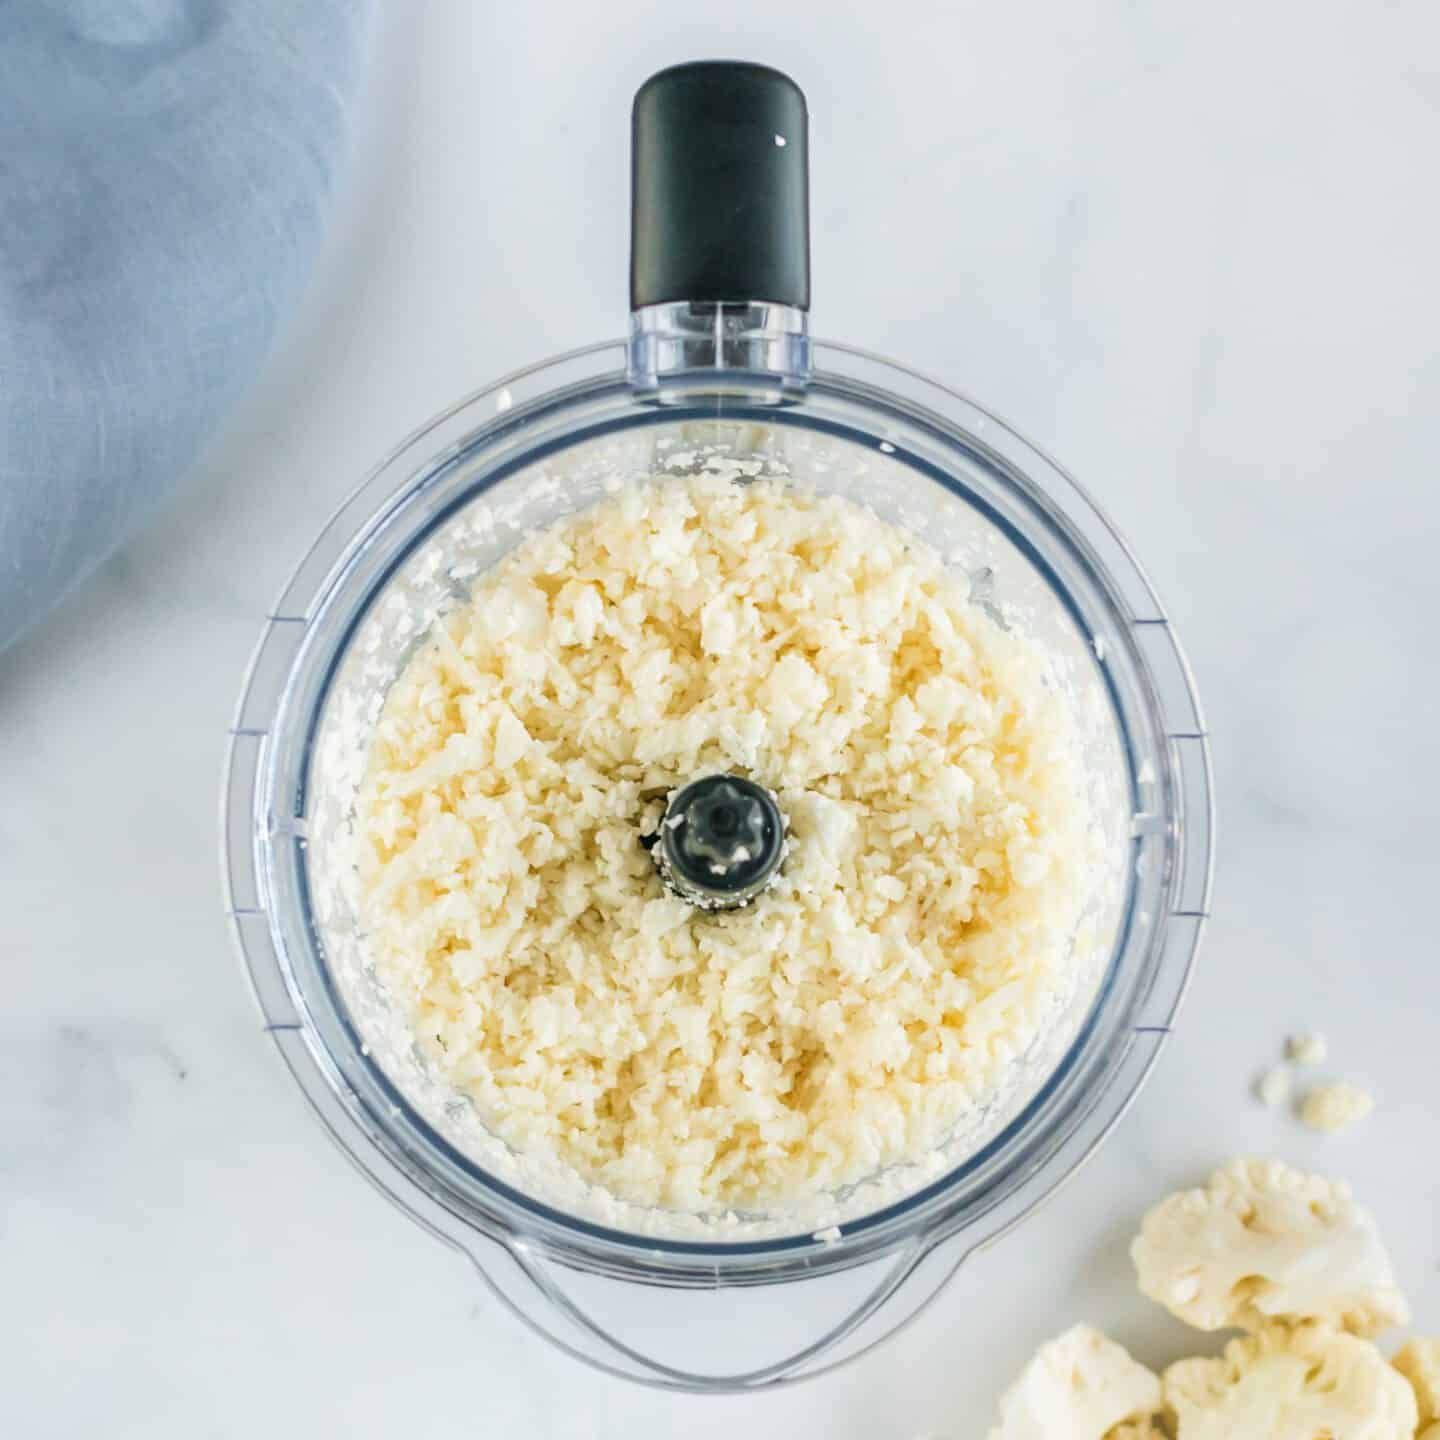
How to Rice Cauliflower
‘Ricing’ cauliflower is essentially pulsing it in a blender or food processor until it resembles the same texture and size as rice. Here’s a quick step-by-step breakdown of how to do so:
- Chop the cauliflower: chop the cauliflower into large chunks. Include the stem but discard any leaves.
- Add to food processor or blender: in a food processor or blender, pulse the cauliflower until it’s the same size as rice.
Riced cauliflower can be substituted for white rice in recipes like this one. It’s best enjoyed the day that you make it (rather than as leftovers) to preserve the flavor and texture.
What to Serve with Cauliflower Fried Rice
This rice can easily be a main dish! But if you’d like to serve it as a side dish, here’s a few recipes that it pairs well with. These are also all plant-based and takeout-inspired!
- Sweet & Sour Tofu (main course)
- Spring Rolls with Peanut Sauce (side dish or appetizer)
- Sesame Noodles (15 minute main course)
- Peanut Sauce Noodles (main course)
- Crispy Tofu (add on top of the Cauliflower Fried Rice)

Cauliflower Fried Rice
- Total Time: 20 minutes
- Yield: 4 servings 1x
- Diet: Vegetarian
Description
A healthy spin on takeout favorite: this recipe uses riced cauliflower instead of white rice to create Takeout Style Cauliflower Fried Rice. This recipe brings all the flavor of your favorite fried rice, but uses heathy, clean ingredients.
Vegetarian (and can be modified to be gluten-free or vegan)
Ingredients
- 1 head cauliflower
- 2 tablespoon sesame oil
- ½ white onion, chopped
- 3 cups mixed vegetables, fresh or frozen (I used a frozen mix of peas, carrots, corn & green beans)
- 3 cloves garlic, minced
- 3 eggs, lightly scrambled
- 3 tablespoons soy sauce (or Tamari sauce or coconut aminos for gluten-free)
- 3 green onions, chopped
Instructions
- Rice the cauliflower: chop the cauliflower into about 2” chunks (discard any leaves but include the stem), and pulse in a blender or food processor until the consistency resembles rice.
- In a large skillet, heat 1 tablespoon sesame oil. Add the onion and mixed vegetables and saute 5 – 8 minutes, until the onion is translucent and the vegetables are heated through.
- Add the garlic to the skillet and cook for 1 minute more.
- Using a wooden spoon or spatula, hollow out a circular well in the middle of the skillet. Add the remaining 1 tablespoon sesame oil and then the eggs. Stir the eggs until they are cooked and then mix them with the other ingredients in the skillet.
- Add the riced cauliflower to the skillet. Pour in the soy sauce and stir to mix. Cook for a couple minutes more, until heated through. Be careful not to overcook as the riced cauliflower will get mushy.
- Serve immediately or the same day as you make it. The texture and flavors won’t keep if you save this as leftovers. Optionally: serve garnished with chopped green onions.


Notes
- The equipment section above contains affiliate links. If you purchase through one of these links, I may earn a small commission.
- To make this recipe gluten free: substitute Tamari sauce or coconut aminos for soy sauce.
- To make this recipe vegan: leave out the eggs
- Prep Time: 5 minutes
- Cook Time: 15 minutes
Keywords: Cauliflower
Leave a Reply